How To Add Libraries Desktop Icon in Windows 10
The Libraries feature was first introduced in Windows 7. It is really useful way to organize your files. Libraries can include files from several different folders and show them under a single, unified view.
Libraries in Windows were created to allow users to access different files and folders from a single, unified interface. In Windows 7, the libraries could be accessed from the Explorer’s navigation bar; in subsequent versions of the system, the way to access them was changed. In Windows 8.1, they were removed from the navigation bar, in Windows 10, instead of libraries, it was suggested to use the “Folders” section in “This PC”.
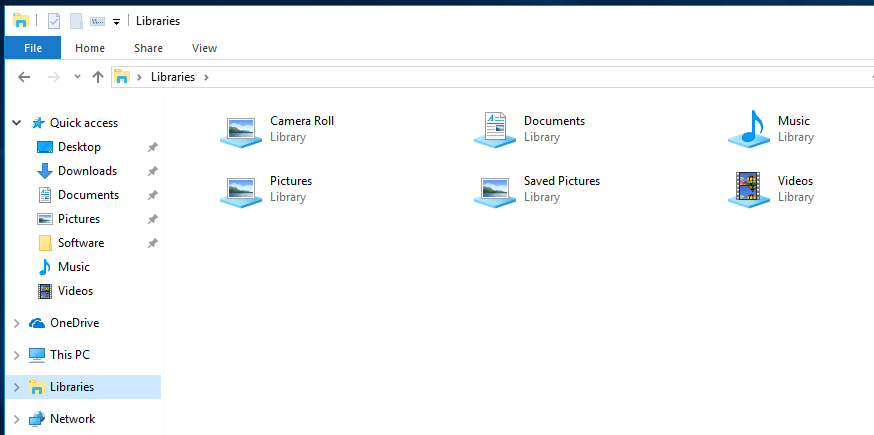
Tip: You might want to enable Libraries in File Explorer in Windows 10. The procedure is explained in detail in the following blog post.
Enable Libraries in File Explorer navigation pane in Windows 10
This tutorial will show you how to add the Libraries desktop icon in Windows 10.
![]()
To Add Libraries Desktop Icon in Windows 10
- Press Win + R, type
regeditand press Enter to open the Registry editor.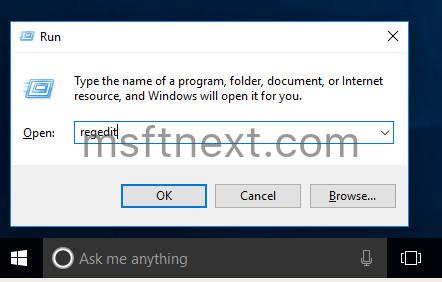
- Go to the following Registry key.
HKEY_CURRENT_USER\Software\Microsoft\Windows\CurrentVersion\Explorer\HideDesktopIcons\NewStartPanel. See how to directly open a Registry key with one click.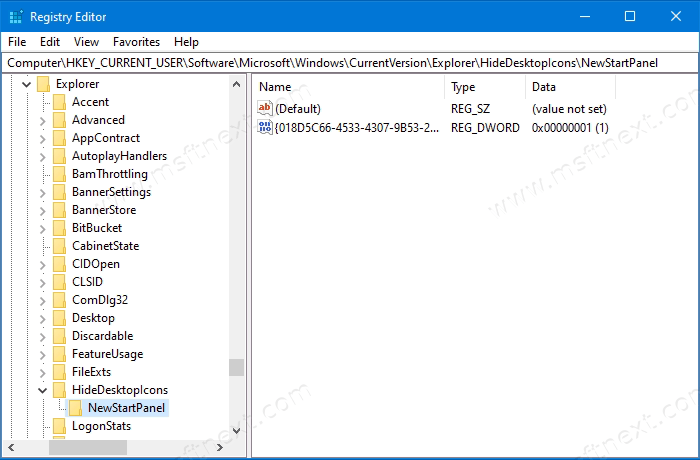
- On the right, modify or create a new 32-Bit DWORD value named
{031E4825-7B94-4DC3-B131-E946B44C8DD5}. Even if you are running 64-bit Windows you must still create a 32-bit DWORD value.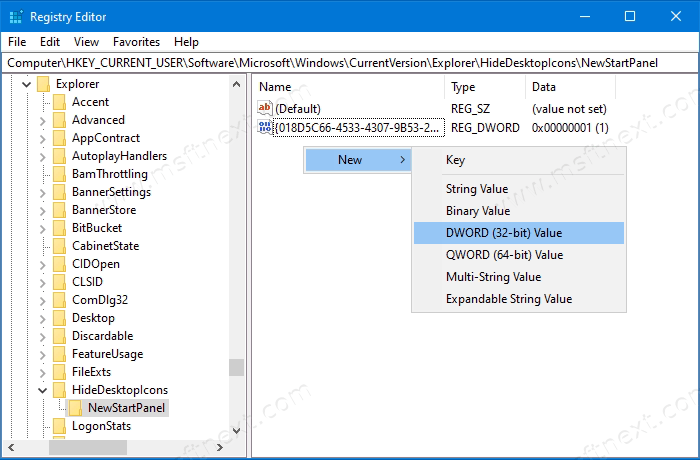
- Leave its value data as
0to make the Libraries desktop icon visible.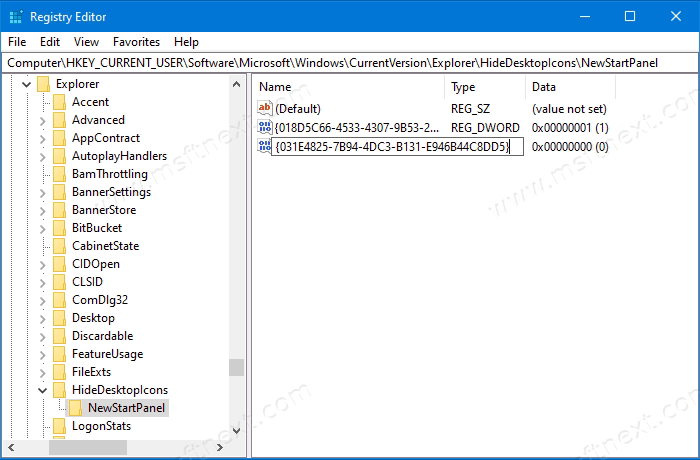
- Press F5 on your Desktop to refresh it. The icon will appear instantly.
![]()
In order to avoid Registry editing, you can download these Registry files (*.REG). The undo tweak is also included.
Download Registry Files for the Libraries Desktop Icon
Also, there is an option to make File Explorer open This PC instead of Quick Access in Windows 10. Check out the following blog post.
Make Explorer open This PC instead of Quick Access in Windows 10
