You can add a Settings shortcut to the classic Control Panel in Windows 10. The Settings app appeared in the initial version of Windows 10, released in 2015. Since then, the classic Control panel applets have been slowly migrating to the Settings interface, while the control panel has gotten less powerful.
Regardless of how loyal you are to the classic Control panel, you will eventually need to use the Settings app, as some of the settings are now only available through it.
In Windows 10, there are at least seven ways to open the Settings app: from the Start menu, from the Start menu, from the Search, Quick Actions, the Explorer ribbon, from the Win + X context menu, using the Win + I combination, and by using the ms-settings command: in the Run window.
For those who still prefer the classic control panel, there is an extra way to open Settings by creating a shortcut there that looks like the applet of this very control panel.
Initially, of course, it is not there, but it is easy to fix it by applying a simple registry tweak. This tutorial will show you how you can add a Settings shortcut to the classic Control Panel.
Add Settings shortcut to Classic Control Panel in Windows 10
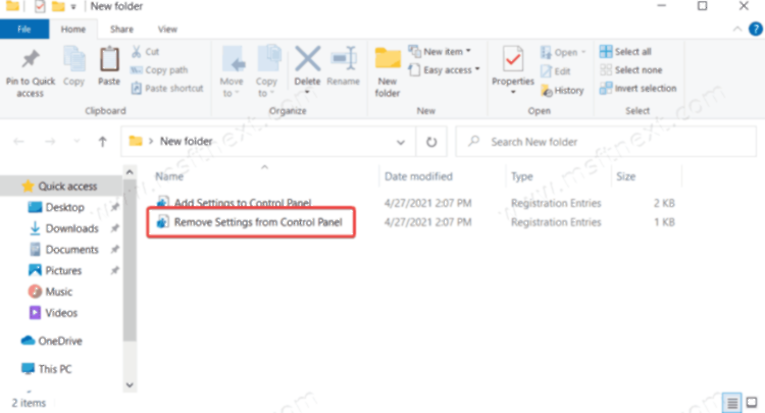
- Download the archive with ready-made registry files using this link.
- Unpack it to a convenient folder location.
- Merge the “Add Settings to Control Panel.reg” file.

- The settings take effect immediately, you just need to close the Control panel if it is open and reopen it.
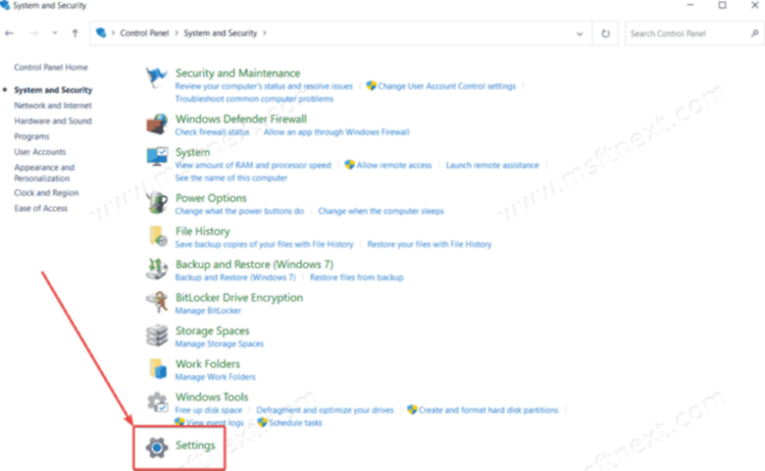
That’s all. You can now access Windows 10 Settings app right from the classic Control panel. You can quickly find it in the category view by visiting the System and Security section. It will be the last icon in this view.
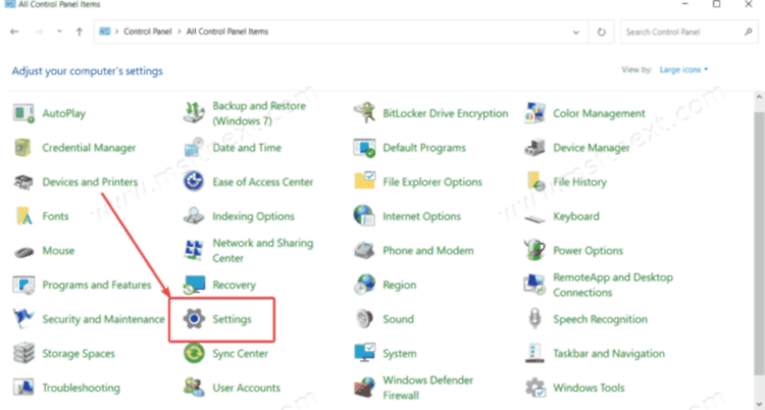
However, if you are using the Large Icons or Small Icons view, the Settings app will appear right in the list of other Control Panel apps.

To remove the added item from the Control panel, use the “Remove Settings from Control Panel.reg” registry file.
