How to Automatically hide the Taskbar in Windows 10.
The taskbar is a classic Windows user interface element. First introduced in Windows 95, it exists in all versions of Windows released after it. The taskbar shows all running applications and open windows as buttons, so you can quickly switch between them. You can enable the auto-hide feature for the taskbar in order to get extra screen space for open windows.
Besides the task buttons, the Windows 10 taskbar displays the Start button, the search box or Cortana, the task view button, the system tray and extra toolbar which can be added by the user or some software. For example, you can add the classic Quick Launch toolbar manually.
In Windows 10, you can make the taskbar to hide automatically. When it is auto-hidden, maximized windows can occupy the whole screen, including the space that was taken by the taskbar. This can be useful when you are working with large documents, or high resolution photos.
Another advantage of the hidden taskbar is that onlookers cannot see which apps you have currently open just by staring at your display.
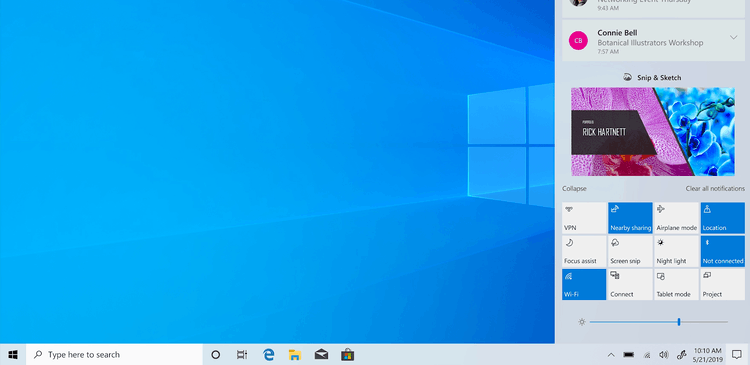
This is the default taskbar in Windows 10.
The hidden taskbar appears as a tiny line at the bottom of the screen.
To make it appear on the screen in its default size, you can either move your mouse pointer to the edge of the screen where the taskbar is, or press the Win + T keys, or swipe inwards from the screen edge on a touch screen device.
This post will show you how to auto-hide the taskbar in Windows 10.
[toc]
Automatically hide the taskbar in Windows 10
- Open Settings.
- Navigate to to Personalization – Taskbar.
- Turn on the toggle option Automatically hide the taskbar in desktop mode in the right pane.
- You have enabled the auto-hide taskbar feature.
Alternatively, you can apply a Registry tweak to make the taskbar auto-hide in Desktop mode.
Enable the taskbar auto-hiding in the Registry
- Press Win+R and type
regedit.exeto open the Registry editor. - Navigate to the Registry key at
HKEY_CURRENT_USER\SOFTWARE\Microsoft\Windows\CurrentVersion\Explorer\StuckRects3. See how to directly open a Registry key. - On the right, modify the binary (REG_BINARY) value Settings. Set the first pair of digits in the second row to 03 to make the taskbar auto-hide.
- Otherwise, you need to change this value to 02 to disable it.
- To apply the changes you made, restart Explorer.
This is how to auto-hide the taskbar in regular desktop mode.
Starting in Windows Build 14328, it is also possible to automatically hide the taskbar in Tablet mode. Here is how it can be done.
Automatically hide the taskbar in Tablet Mode
- Open Settings.
- Navigate to to Personalization – Taskbar.
- Turn on the toggle option Automatically hide the taskbar in tablet mode in the right pane.
- You have enabled the taskbar auto-hiding in the tablet mode.
Also, you can use the System > Tablet page in Settings for the same.
Make the tasbkar auto-hide in Tablet mode using Additional tablet settings
- Open Settings.
- Open the System > Tablet page
- There, click on the link ‘Change additional tablet settings’ in the right pane.
- Turn on the option Automatically hide the taskbar.
- You have enabled the taskbar auto-hiding in the tablet mode.
Alternatively, you can apply a Registry tweak. This can be done as follows.
Enable automatic taskbar hiding in Tablet mode in Registry
- Open the Registry editor.
- Go to the following Registry key:
HKEY_CURRENT_USER\SOFTWARE\Microsoft\Windows\CurrentVersion\Explorer\Advanced. See how to directly open a Registry key. - If you don’t have such a key, then create it manually.
- On the right side, create a new 32-bit DWORD value TaskbarAutoHideInTabletMode. If you are running a 64-bit Windows version, you still need to create a 32-bit DWORD value.
- Set its value data to 1 to enable taskbar auto hiding.
- A value data of 0 will disable taskbar auto hiding.
- Sign out from your Windows 10 account and the sign in back to apply the changes.
