You may be surprised to learn that you can enable the Page Screenshot feature in Google Chrome. It is integrated in the Share menu of the omnibox but hidden by default. Once you enable it, you will be able to select some visible area and capture it to a file.
You can find extensions for taking screenshots of web pages in the Chrome Web Store, as well as for many different tasks. Sadly, all active extensions consume memory resources in one way or another. Therefore, many prefer to use the built-in tools of the browser.
Instead of using extensions, you can quickly take a screenshot of a selected area of a page open in Chrome using a built-in option.
However, it was possible to create a screenshot of a page in Chrome before. But then you would have to use the Developer Tools for this. From now on, all you need to do is to activate a flag in the experimental settings. So you can create screenshots in a couple of clicks from the “Share this page” menu.
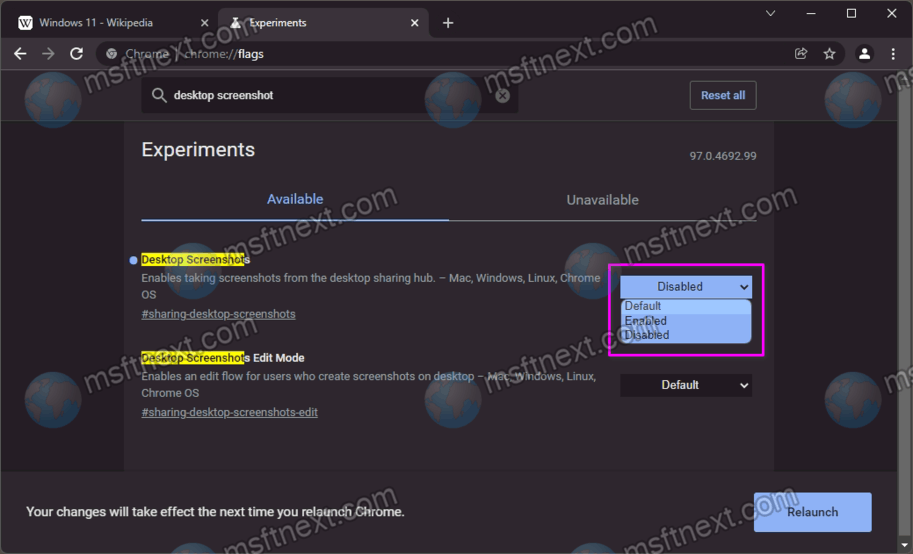
- In Chrome, type chrome://flags.
- Type Desktop Screenshots in the search box.
- It has the Default value, so change it to Enabled, and then restart the browser by pressing the “Relaunch” button.

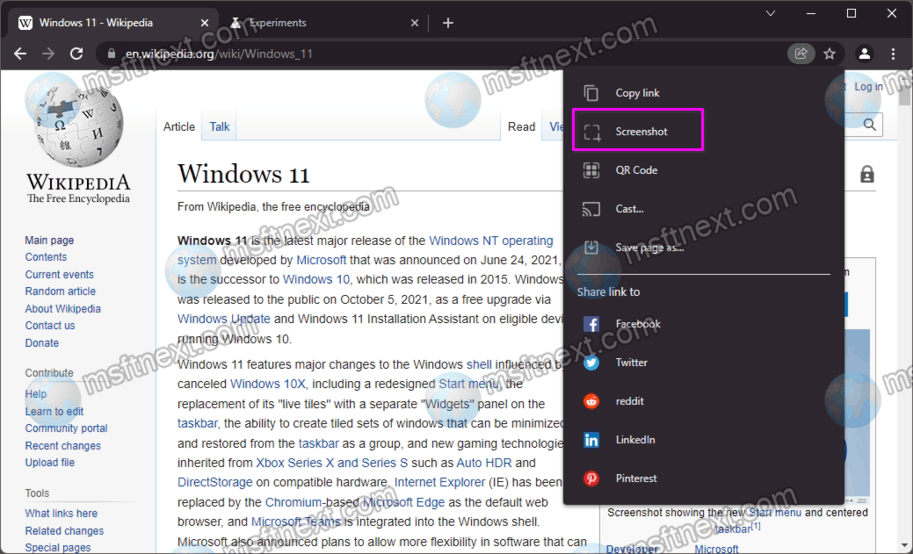
- If you now click the “Share this page” button in the address bar to the right of the URL, you will see the “Screenshot” option in it.

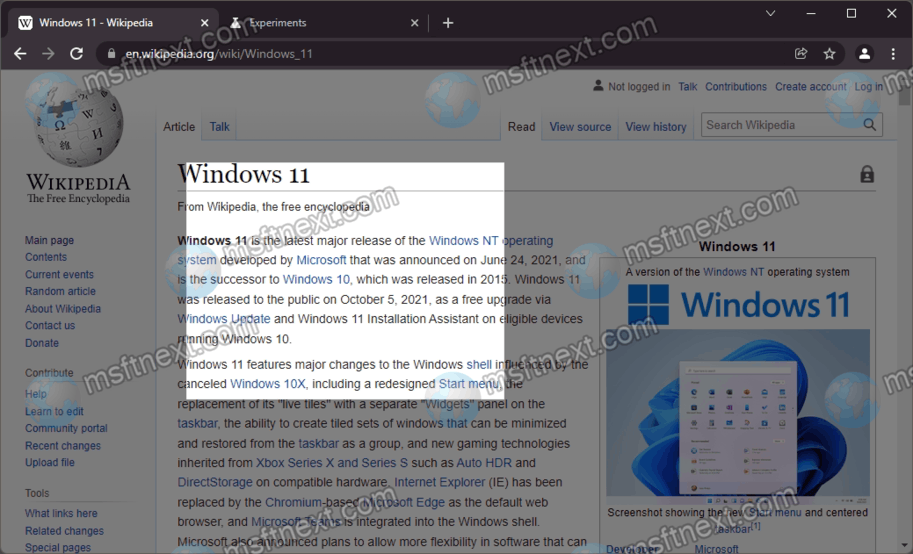
After selecting this tool, the background of the page will be filled with a semi-transparent mask, and the cursor will turn into a crosshair. By holding the left mouse button, select some area of the page you need to capture and release the mouse.

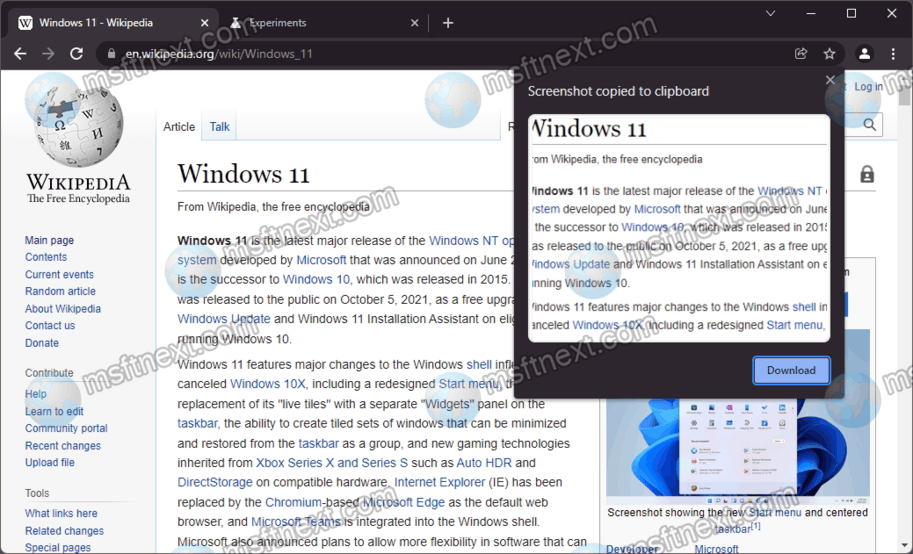
As a result, a window will appear with the created screenshot, which can be saved in PNG format.
By default, the image is copied to the clipboard.
Unfortunately, at the moment the “Desktop Screenshots” flag does not provide the ability to create screenshots of pages with scrolling. It is not clear whether such an opportunity will appear in Chrome in the future or not.
